Capturing HTTPS Traffic
HTTPS traffic is encrypted end to end, so a normal packet sniffer only shows you opaque TLS bytes. To read the actual requests and responses you need a man-in-the-middle (MITM) proxy that your machine trusts. Fluxzy is exactly that: it sits between your apps and the internet, decrypts HTTPS on the fly, and shows you every request, response, header and body.
This guide walks through capturing and decrypting HTTPS traffic end to end:
- Install and trust the Fluxzy root certificate
- Choose a capture method (system proxy or transparent tunnel)
- Start capturing
- Confirm HTTPS is being decrypted
TL;DR. Install the Fluxzy root CA (one click plus an OS confirmation), select a capture mode, click capture, and HTTPS requests appear in the exchange list, fully decrypted.
Platform note. The screenshots below are from the macOS app. The workflow is identical on Windows and Linux; only the certificate-trust step is OS specific (noted in Step 1).
How HTTPS capture works in Fluxzy
Because TLS is encrypted, Fluxzy presents its own certificate to your apps and re-encrypts the connection to the real server. Your apps only accept that certificate if the Fluxzy root certificate authority (CA) is installed and trusted on your machine. That is the one prerequisite for decryption.
Fluxzy can route your traffic through it in two ways, selectable in the title bar:

- Proxy (recommended, the default): Fluxzy registers itself as the system proxy. Apps that honor the system proxy follow it automatically. No elevation required.
- Transparent: a full-system tunnel that intercepts every app's TCP traffic, including apps that ignore the proxy setting. Requires elevation. See Capture every app: the transparent tunnel.
There is also a zero-setup shortcut for a single browser: see Launch a hooked browser.
Step 1: Install & trust the Fluxzy root certificate
Fluxzy can only decrypt HTTPS once its root CA is trusted by your operating system.
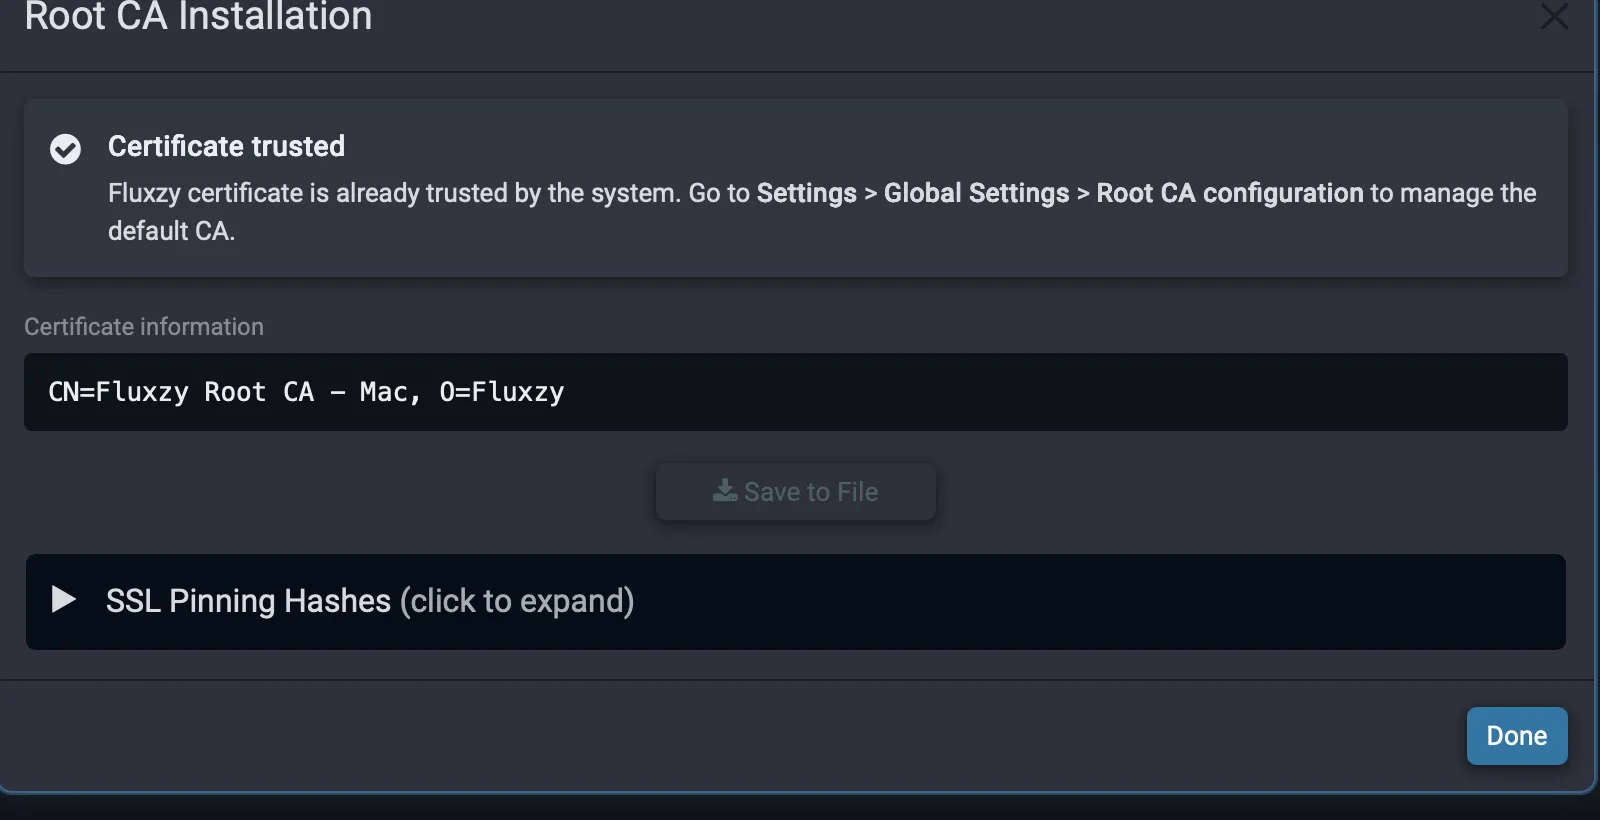
Open the Root CA Installation wizard from the certificate indicator in the status bar (bottom right) or from Settings → Global Settings → Certificates. Click Install certificate and approve the OS prompt (Touch ID or password on macOS, a UAC prompt on Windows; on Linux the CA is added to the system store). When it is done, the wizard reports that the certificate is trusted:
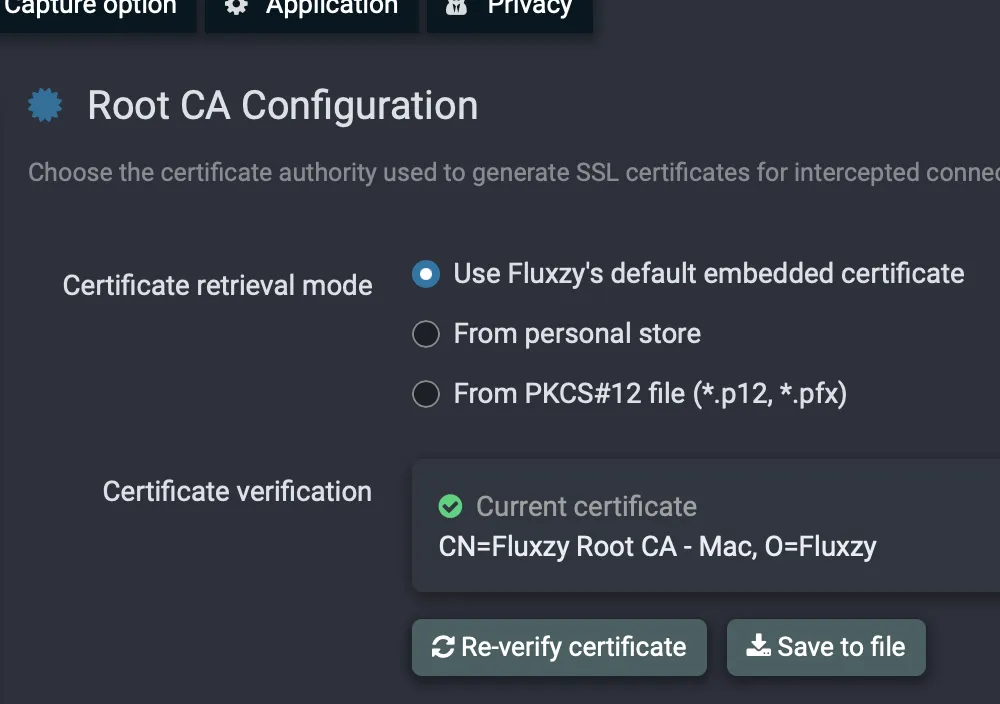
You can review or change the active certificate authority any time under Settings → Global Settings → Certificates → Root CA Configuration:
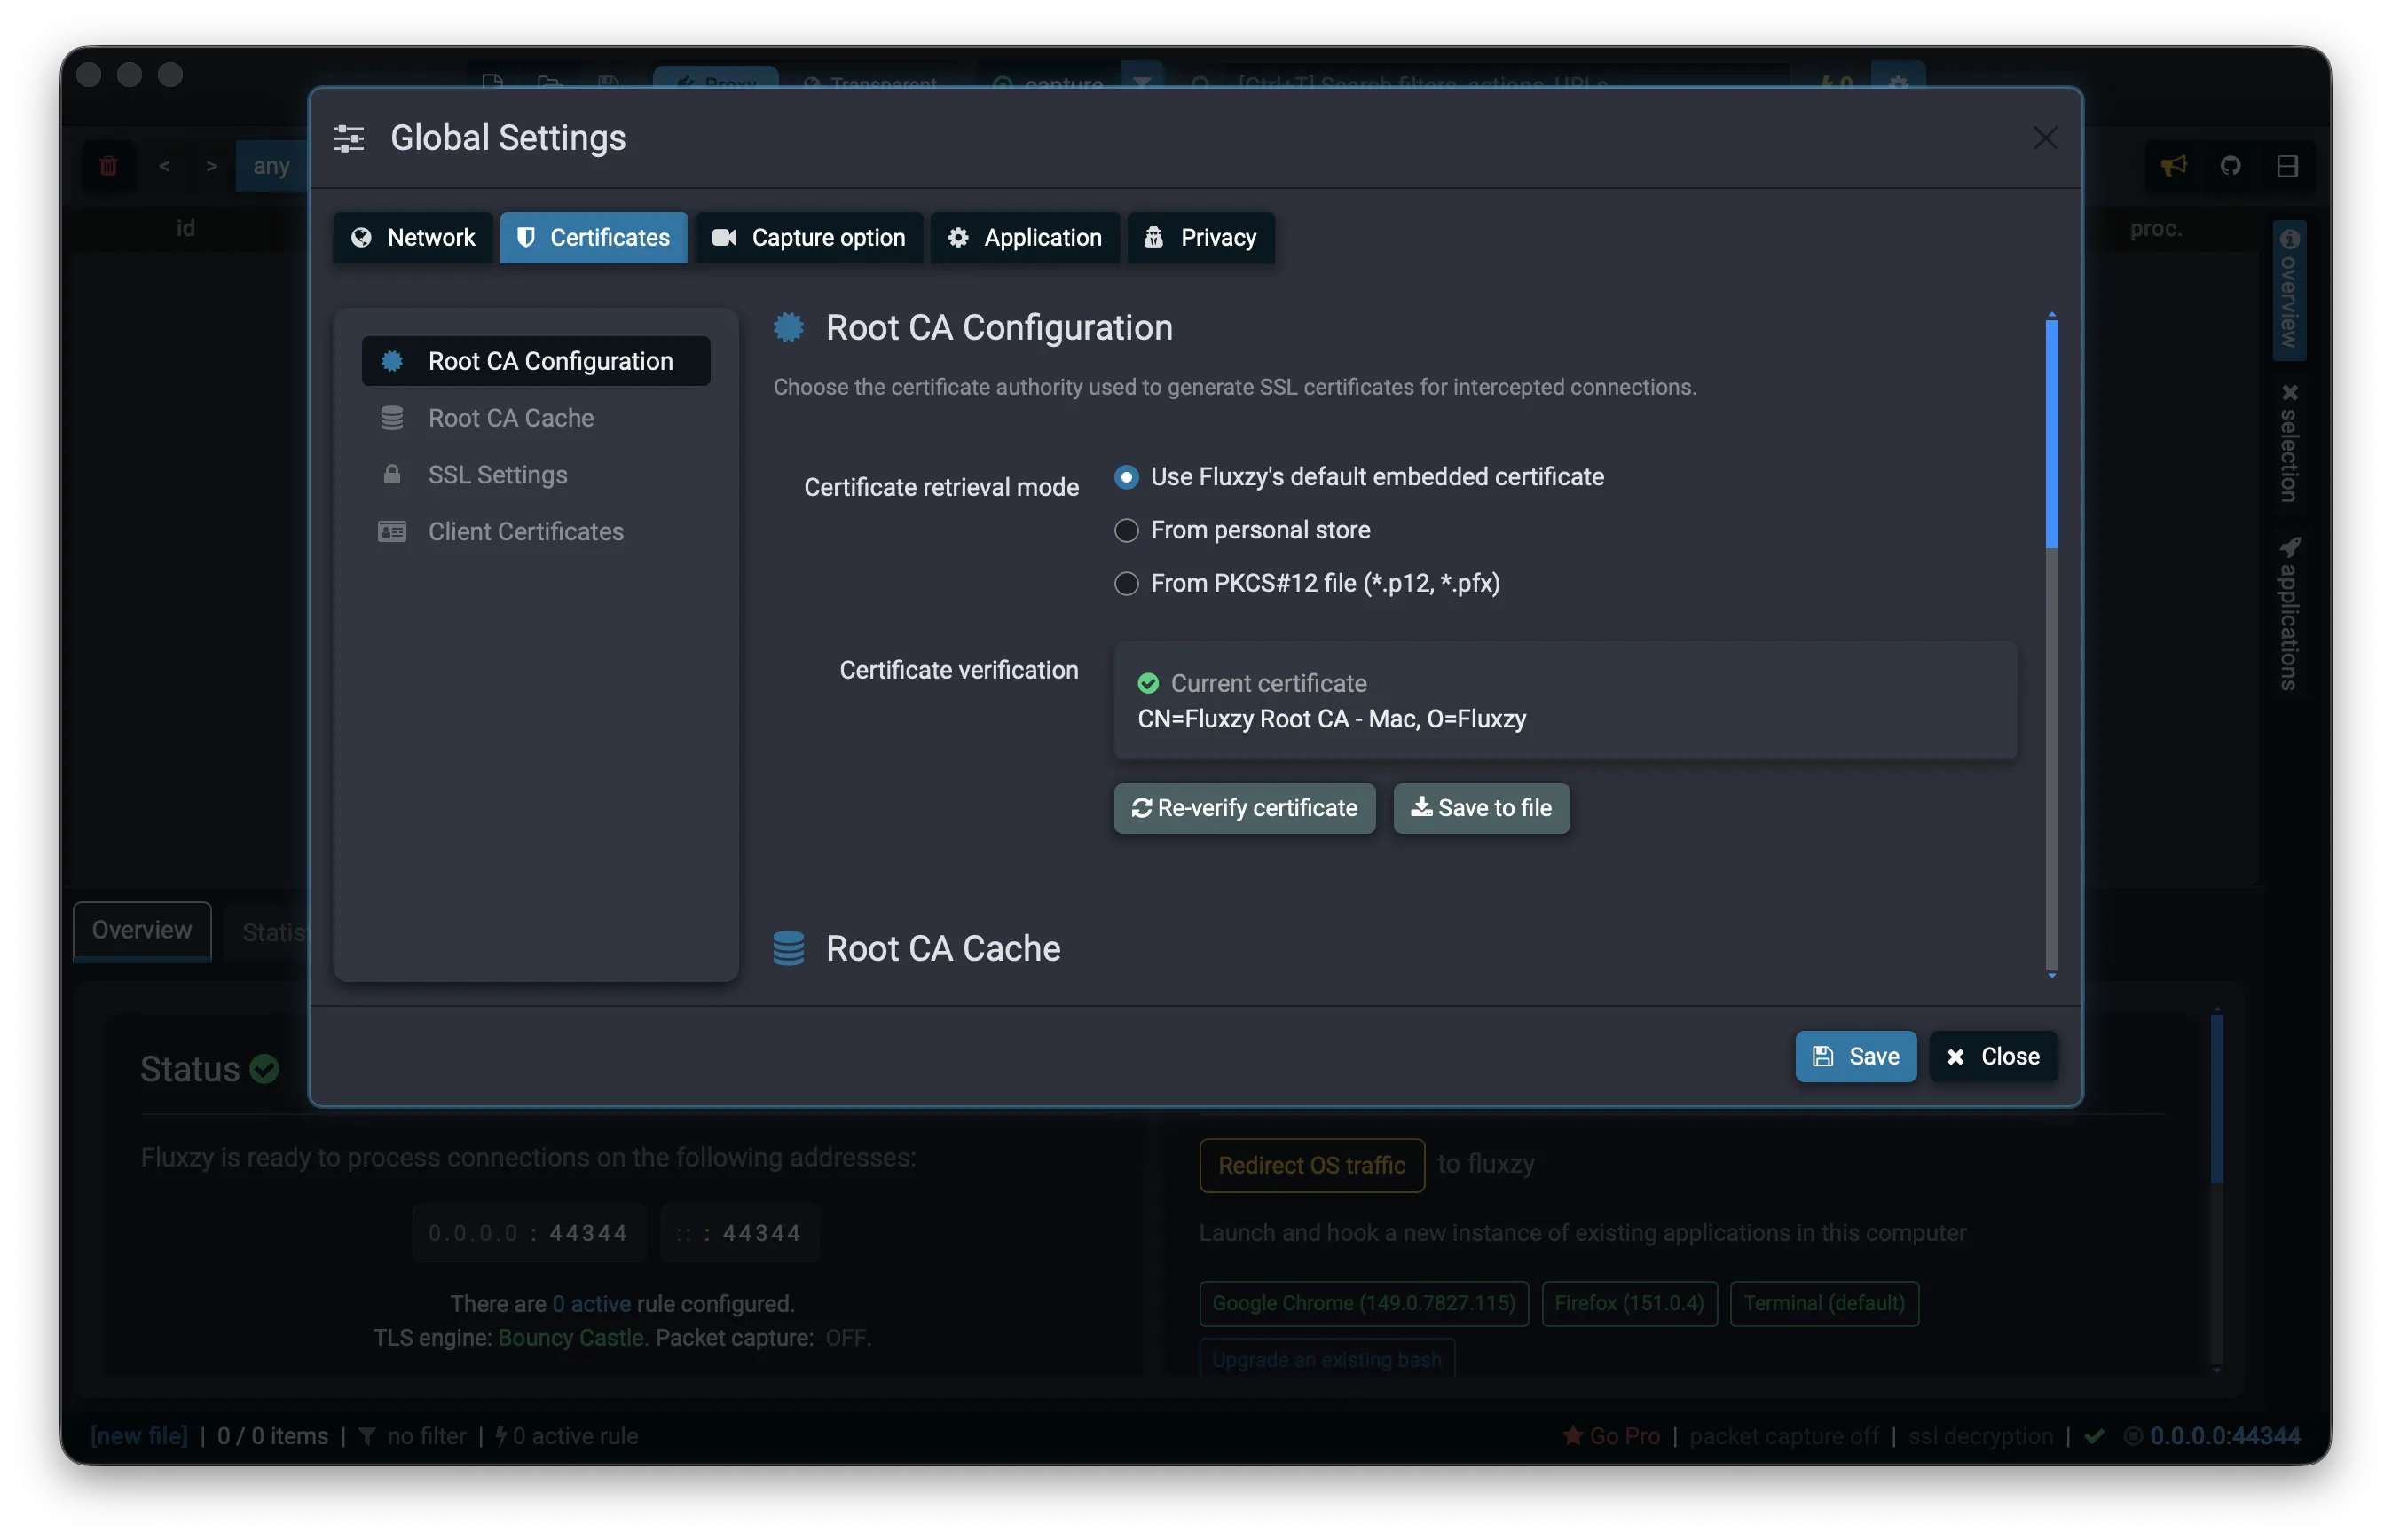
By default Fluxzy uses its own generated root CA (CN=Fluxzy Root CA - …), but you can also load a certificate from your personal store or from a PKCS#12 (.p12 / .pfx) file. See Changing root certificate for details. To generate your own CA with the correct x509v3 extensions, key size and signature algorithm for MITM, follow How to create a self-signed certificate for MITM proxying:
Confirm the certificate is trusted
Once installed, the status bar shows a green check next to the listening address, and ssl decryption is active:
![]()
Alternative: trust the certificate from the command line
Prefer the terminal, or setting up a headless box or CI runner? You can trust the CA without the wizard.
First export the Fluxzy root CA to a file — from the desktop (Settings → Global Settings → Certificates → Export) or with the CLI:
fluxzy cert export fluxzy-ca.pem
The simplest option is to let the CLI add it to the system store (see fluxzy cert for every certificate command):
# Windows: run the shell as Administrator — macOS/Linux: prefix with sudo
fluxzy cert install fluxzy-ca.pem
Or trust it with the native OS tooling:
Windows — PowerShell, as Administrator:
Import-Certificate -FilePath fluxzy-ca.pem -CertStoreLocation Cert:\LocalMachine\Root
# or: certutil -addstore -f Root fluxzy-ca.pem
macOS:
sudo security add-trusted-cert -d -r trustRoot -k /Library/Keychains/System.keychain fluxzy-ca.pem
Linux — Debian/Ubuntu (and derivatives):
sudo cp fluxzy-ca.pem /usr/local/share/ca-certificates/fluxzy-ca.crt
sudo update-ca-certificates
Linux — Fedora/RHEL/openSUSE:
sudo cp fluxzy-ca.pem /etc/pki/ca-trust/source/anchors/fluxzy-ca.crt
sudo update-ca-trust
Confirm the result with fluxzy cert check (with no file argument it checks the embedded CA).
Step 2: Select the System Proxy capture mode
In the title bar, make sure Proxy is selected in the capture-mode switch (it is the default). This tells Fluxzy to capture by registering itself as the system proxy, with no admin rights needed.
Step 3: Start capturing (Redirect OS traffic)
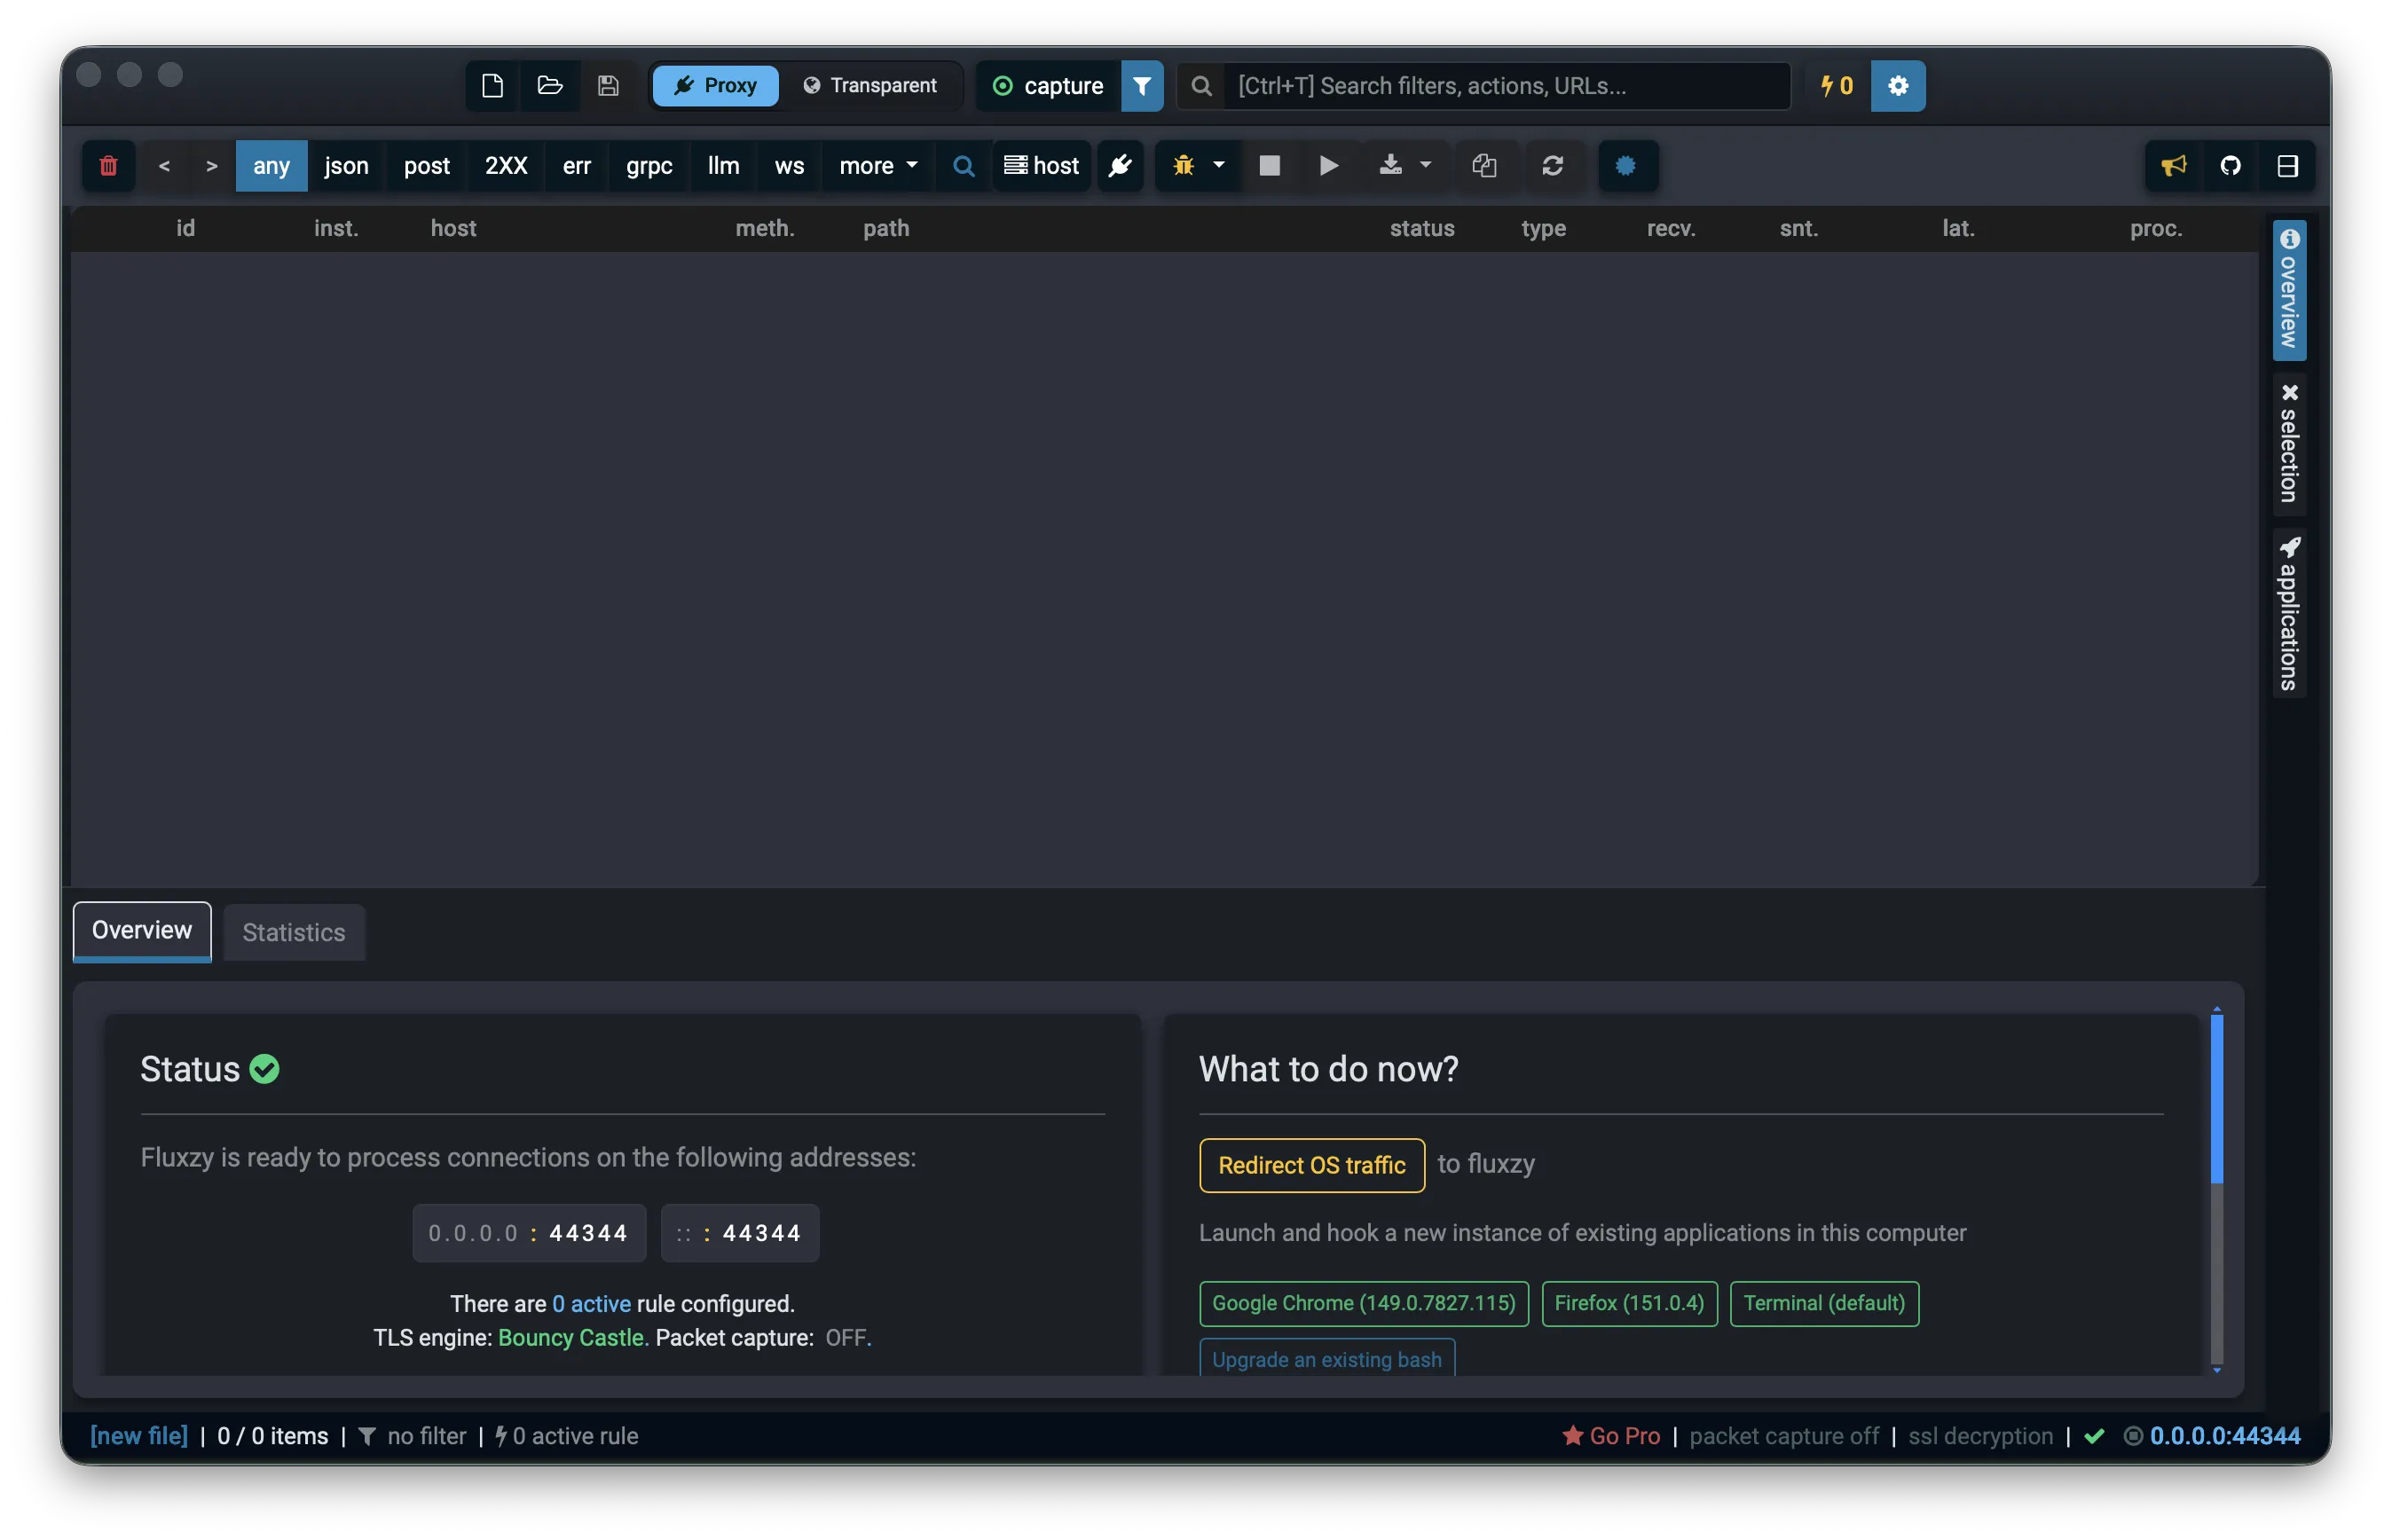
Now route your system's traffic through Fluxzy: click capture in the title bar.
![]()
Fluxzy sets your system HTTP/HTTPS proxy to its own listener (shown as an address like 0.0.0.0:44344 in the status bar) and starts recording. When you want to stop, click the same button again to halt capture and restore your previous proxy settings.
Tip: capture just one app instead of the whole system. Use Launch a hooked browser (see below) to start a browser that is pre-configured to use Fluxzy and trust its certificate, without changing any system-wide settings.
Step 4: Verify HTTPS is being decrypted
Browse to any HTTPS site (or trigger network activity in an app). Encrypted requests now appear in the exchange list in clear text. You can see the host, method, path, status code and the detected content type (HTML, JSON, …), which is only possible because Fluxzy decrypted the TLS stream:
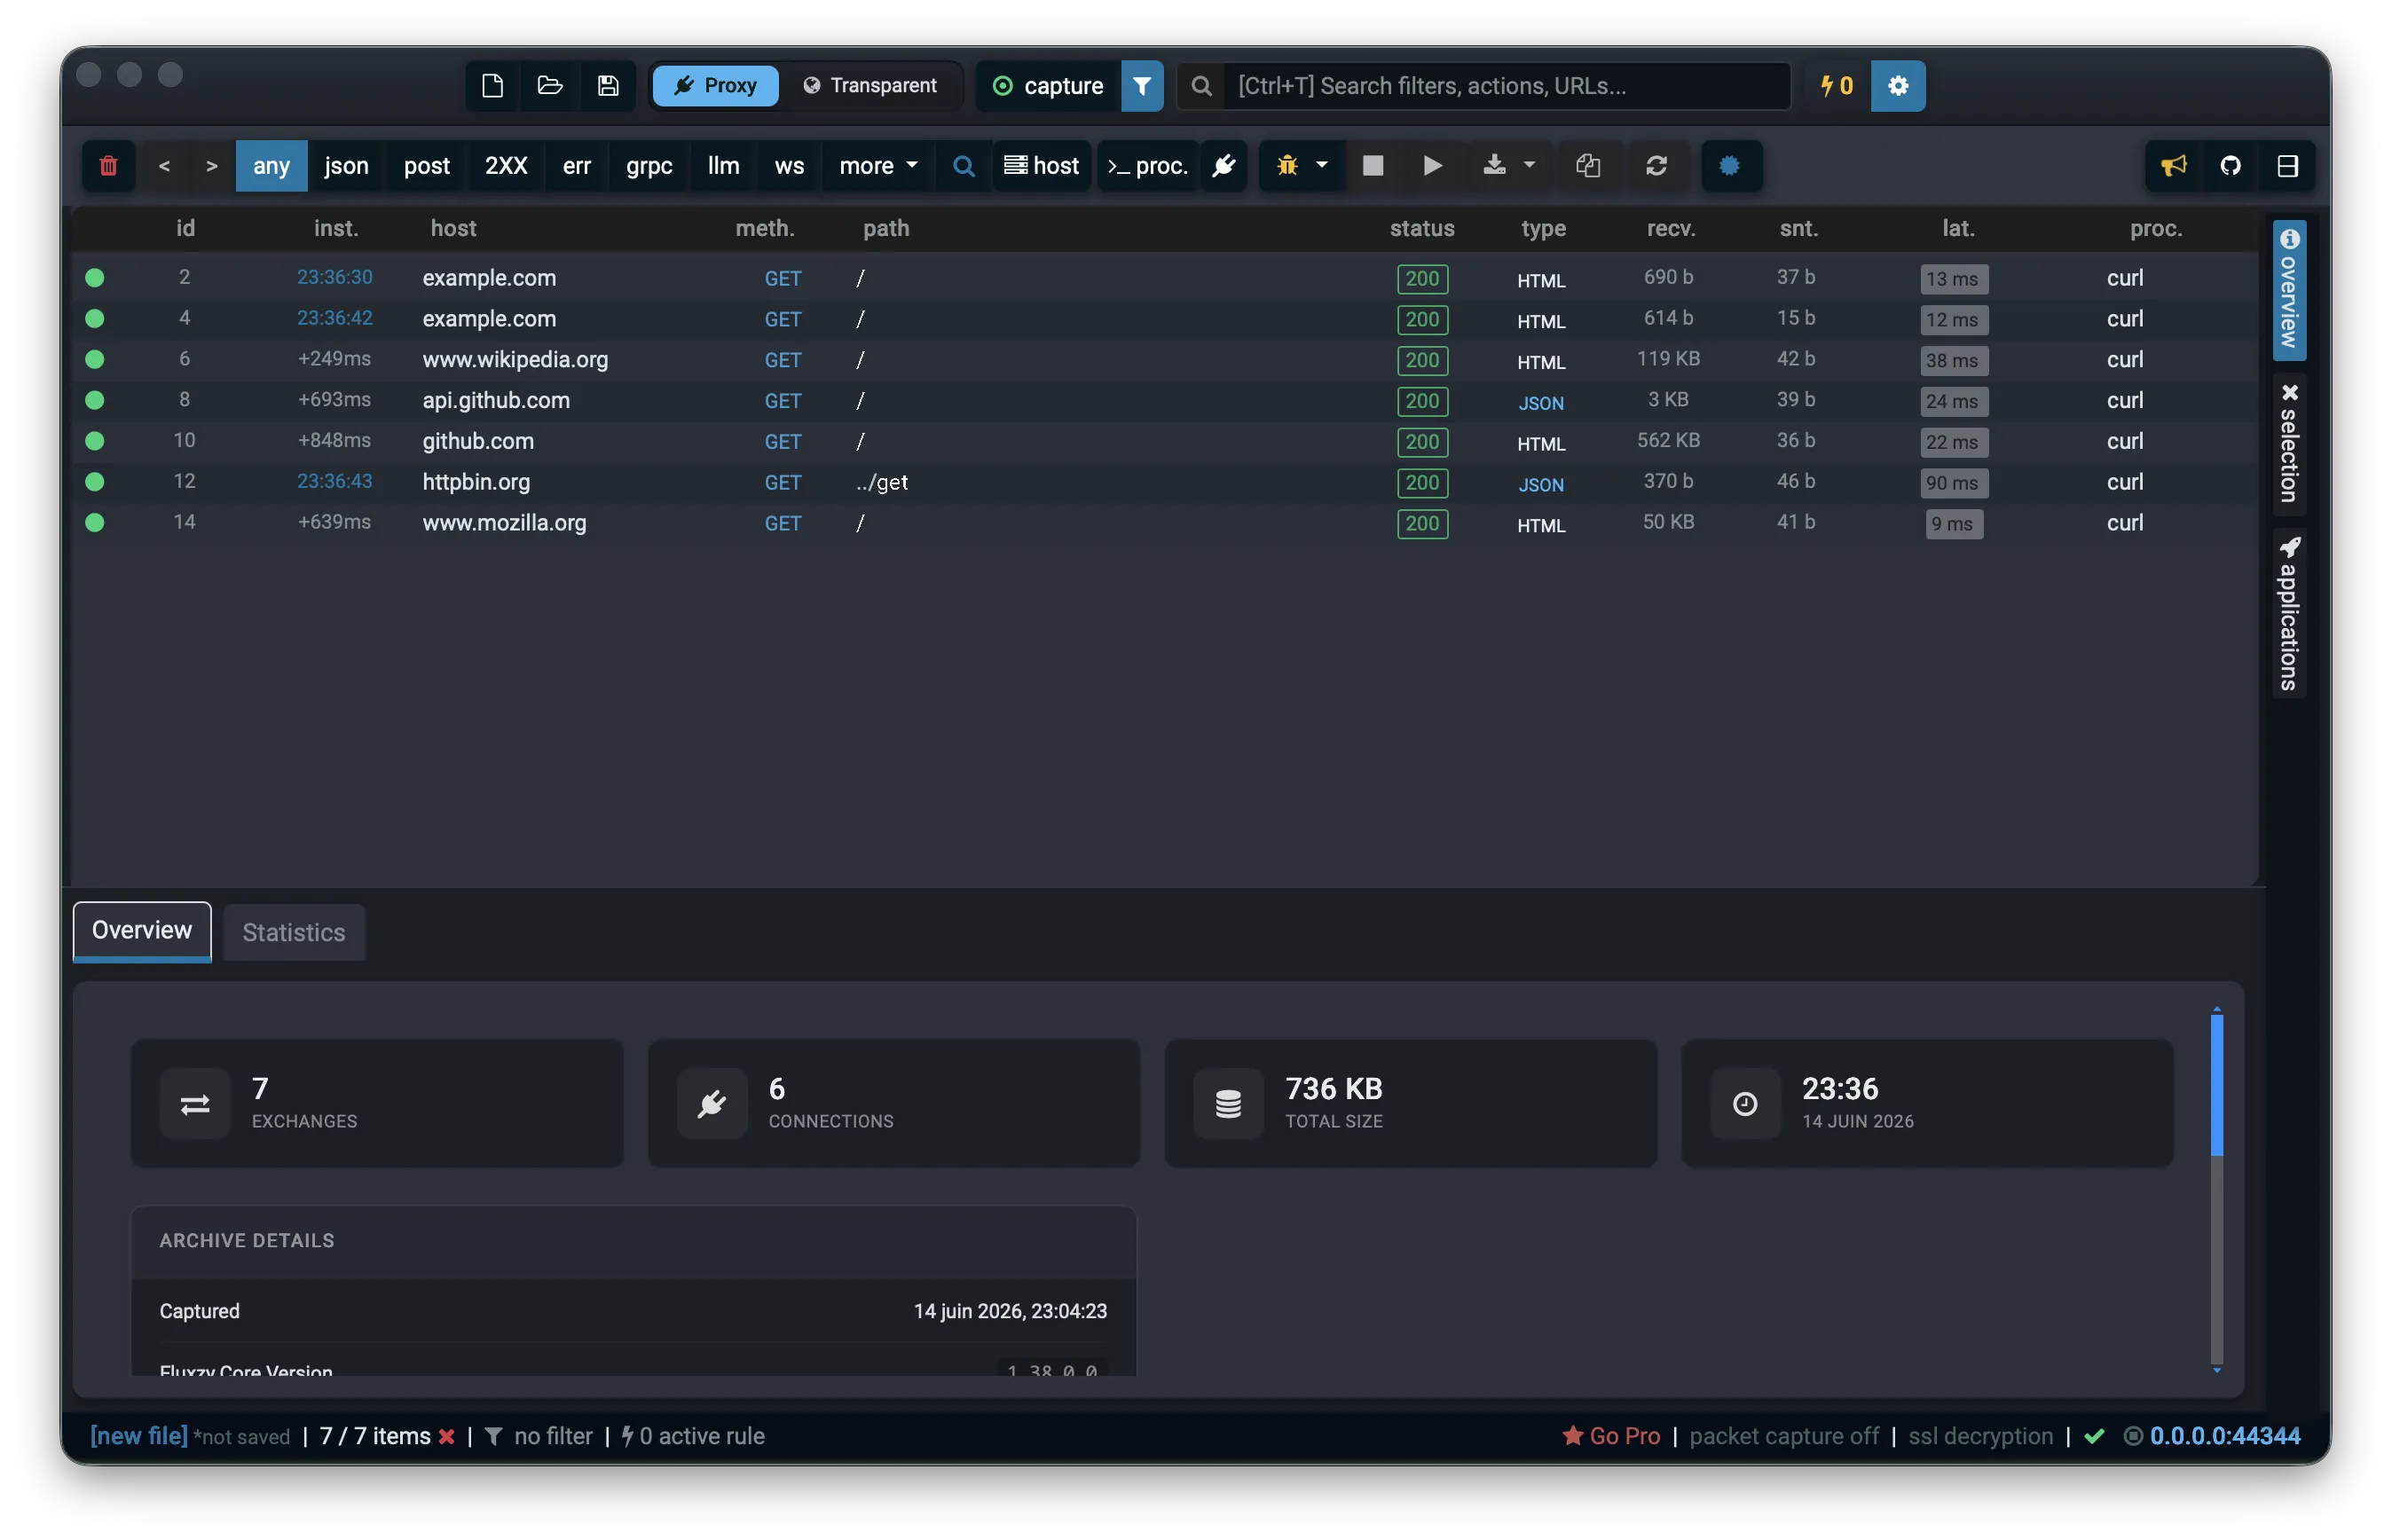
Select any row to inspect the full decrypted request and response: headers, cookies and body. If you see HTTPS exchanges with real status codes and content types, decryption is working. 🎉 See Explore exchange details for a tour of the inspector.
Capture every app: the transparent tunnel
The system proxy (Steps 2 to 4) only captures apps that honor the system proxy setting, and some apps ignore it. Transparent mode captures every app's TCP traffic by routing your whole system through Fluxzy, with no per-app configuration.

How the two methods compare:
| System Proxy | Transparent tunnel | |
|---|---|---|
| Captures | apps that honor the system proxy | every app's TCP traffic |
| Per-app setup | none | none |
| Admin rights | not required | required (one prompt) |
| System change | sets the system proxy | redirects the default route (auto-reverted) |
| Best for | browsers and most HTTP clients | apps that bypass the proxy |
Decryption works the same way in both modes: the Fluxzy root CA must be trusted (Step 1).
Turn it on
- Trust the Fluxzy root certificate (Step 1); decryption still needs it.
- In the title bar, switch the capture mode to Transparent.
- Click capture and approve the elevation prompt. Fluxzy temporarily redirects your system's default route through its tunnel. This is reverted automatically when you stop capturing or quit the app.
Tunnel options
Tune the tunnel under Settings → Global Settings → Capture option → Full-System Capture (Tunnel):
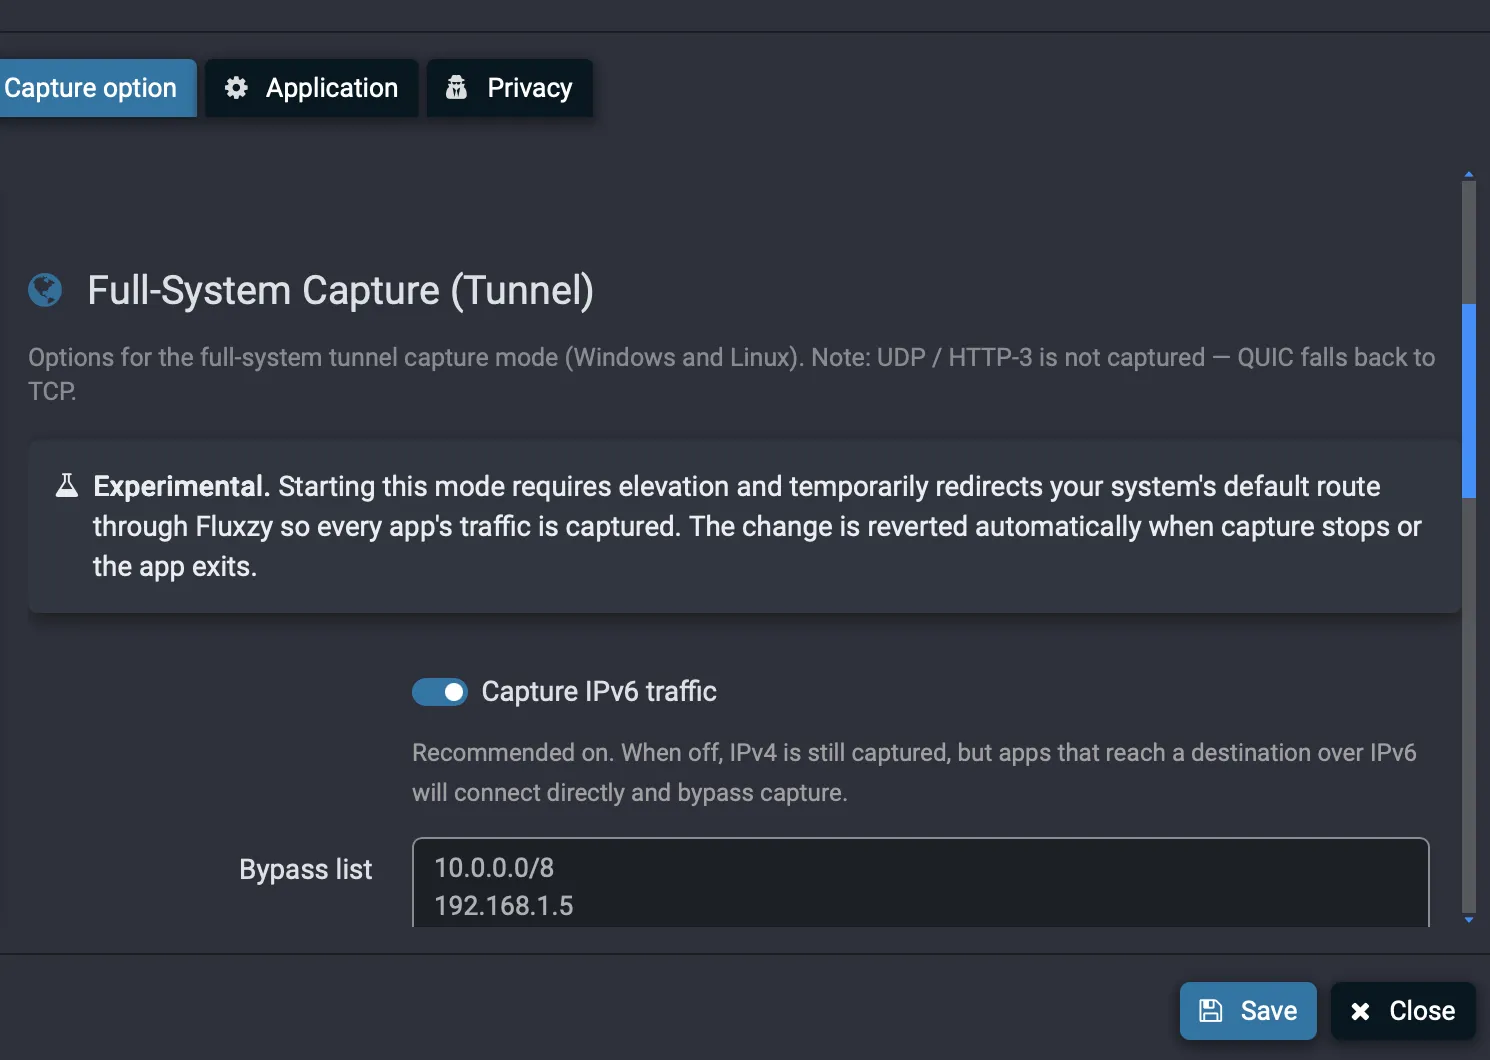
- Capture IPv6 traffic (recommended on): when off, IPv4 is still captured, but apps that reach a destination over IPv6 connect directly and bypass capture.
- Bypass list: one IP or CIDR per line (for example
10.0.0.0/8,192.168.1.5,fd00::/8). These destinations skip the tunnel and flow directly, uncaptured. A bare IP is treated as a single host; IPv6 entries require Capture IPv6 to be on.
Limitations
- Captures TCP only. UDP and HTTP-3 (QUIC) are not captured, so QUIC falls back to TCP.
- The tunnel is experimental and requires elevation.
- Availability depends on your platform. If the Transparent option is greyed out, this build does not support the tunnel on your system; use the system proxy instead.
Check your SSL decryption settings (optional)
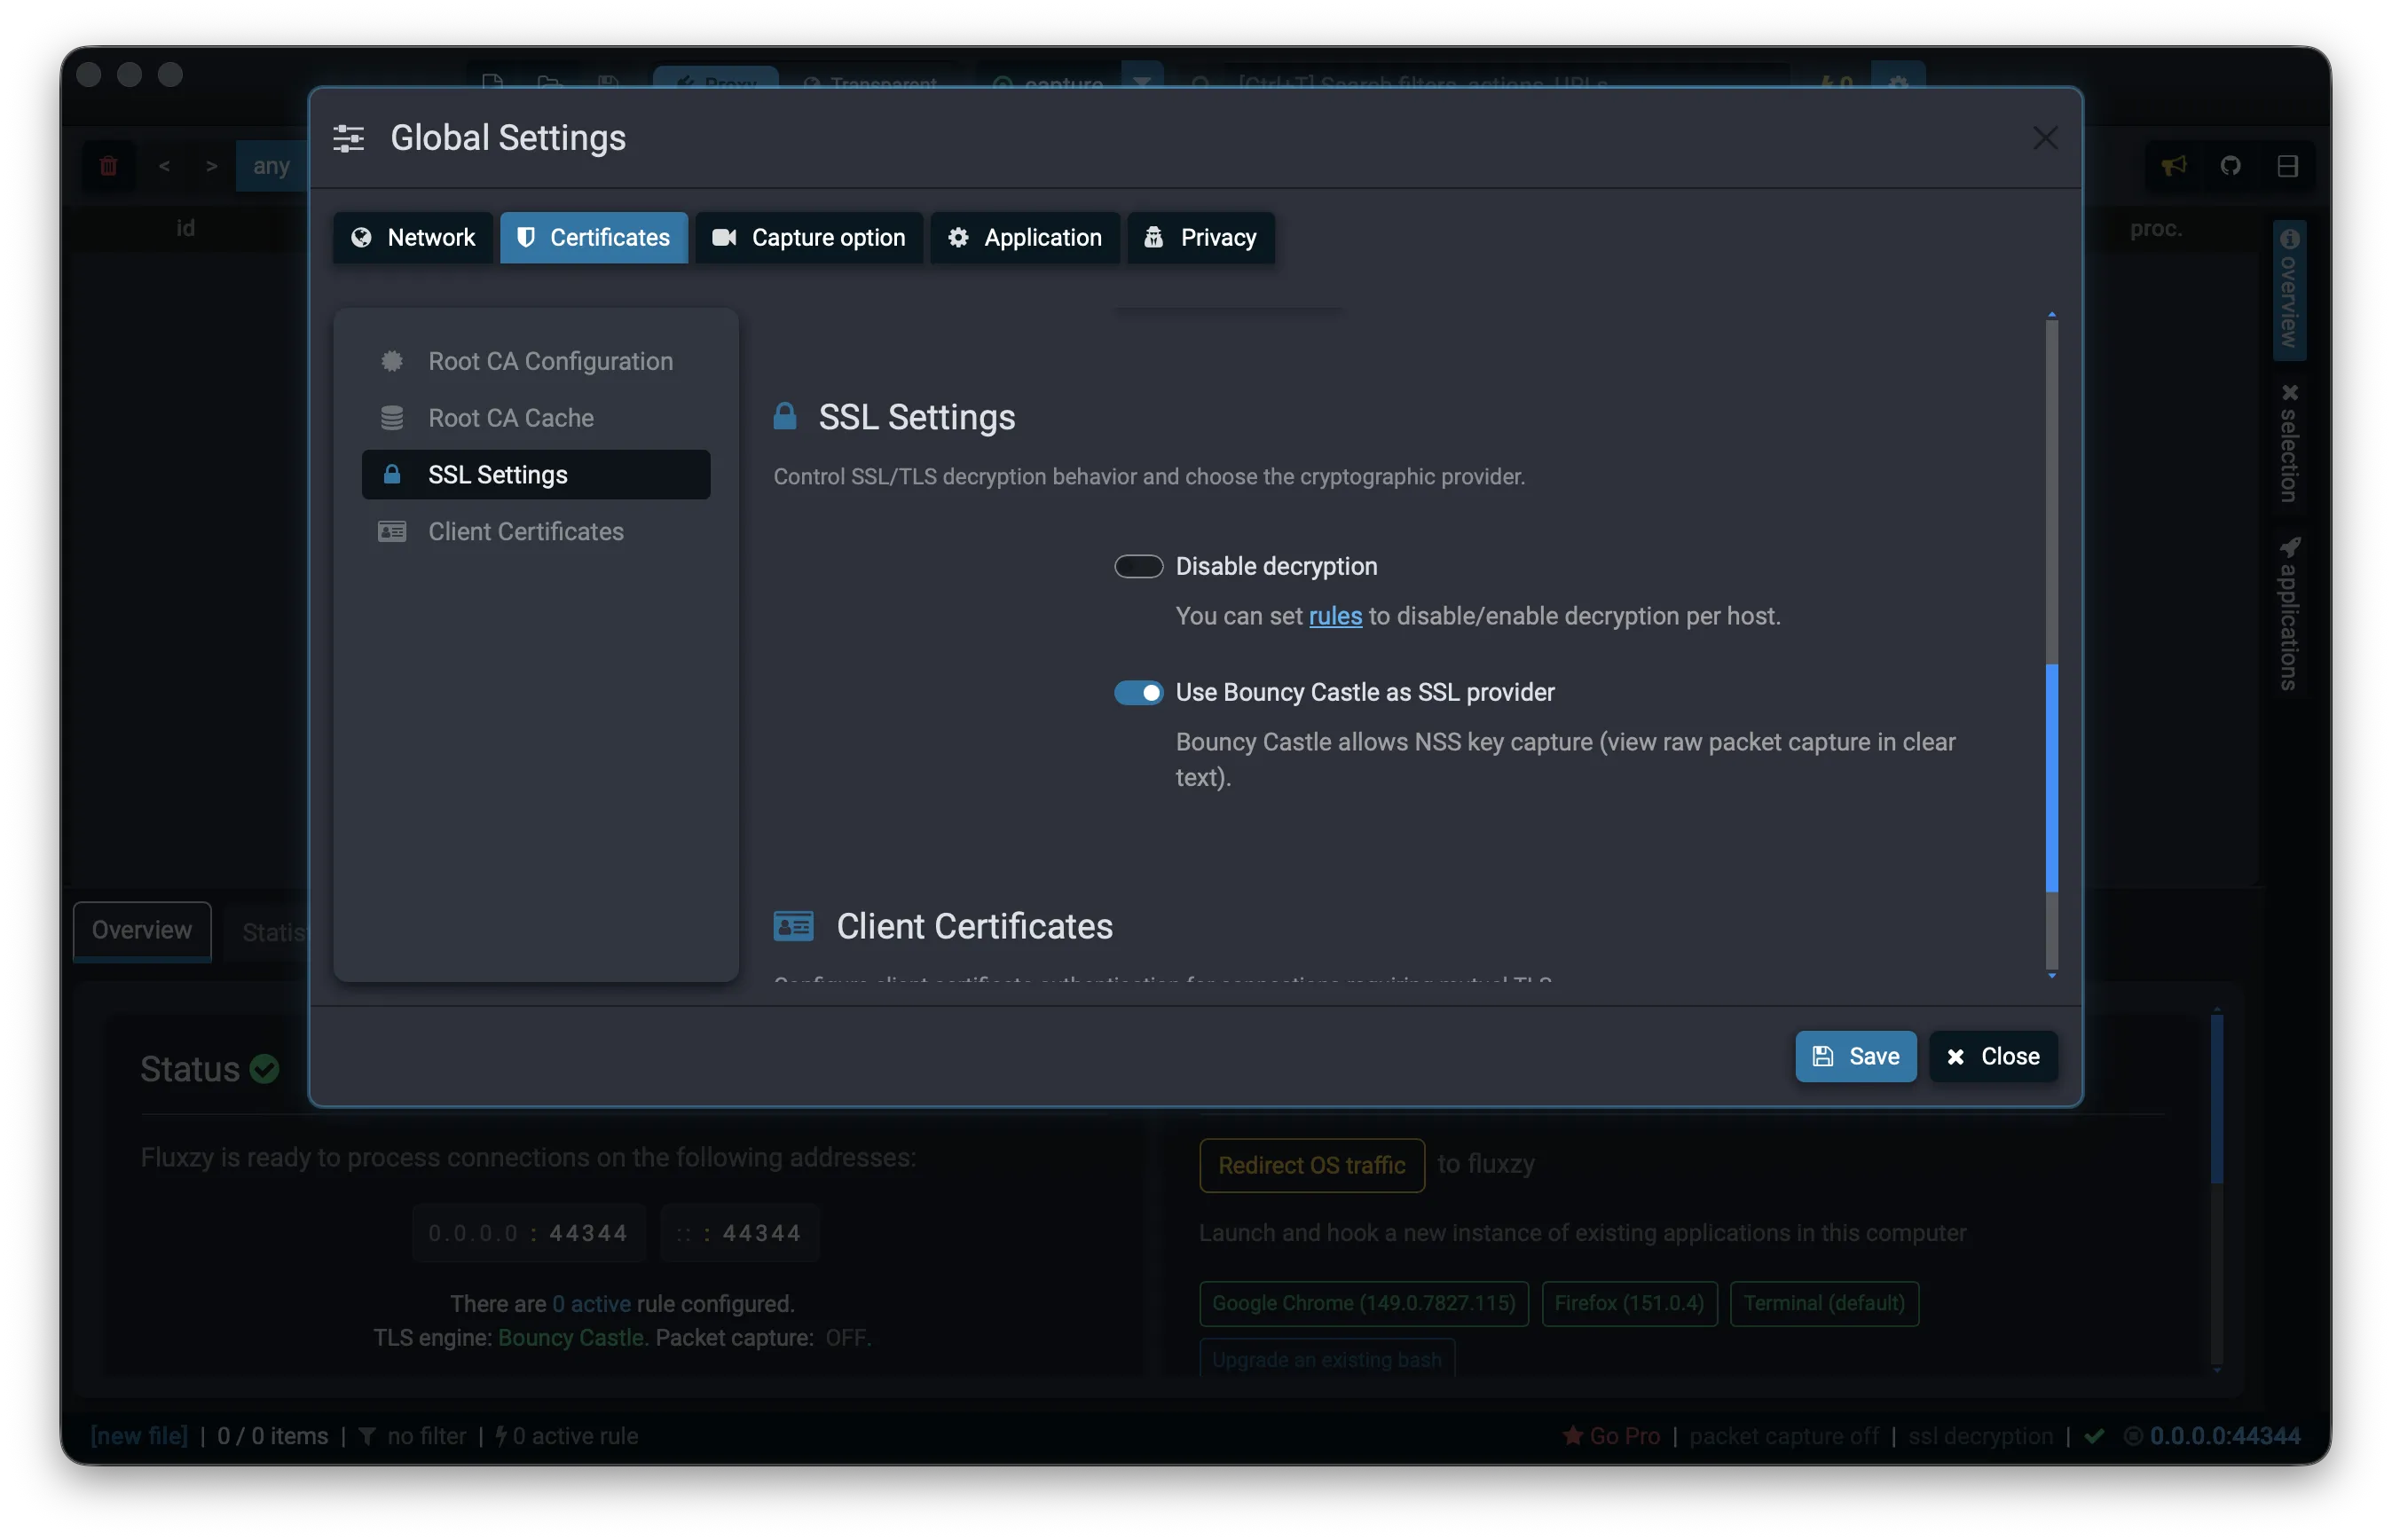
Decryption is on by default. You can review or tune it under Settings → Global Settings → Certificates → SSL Settings:
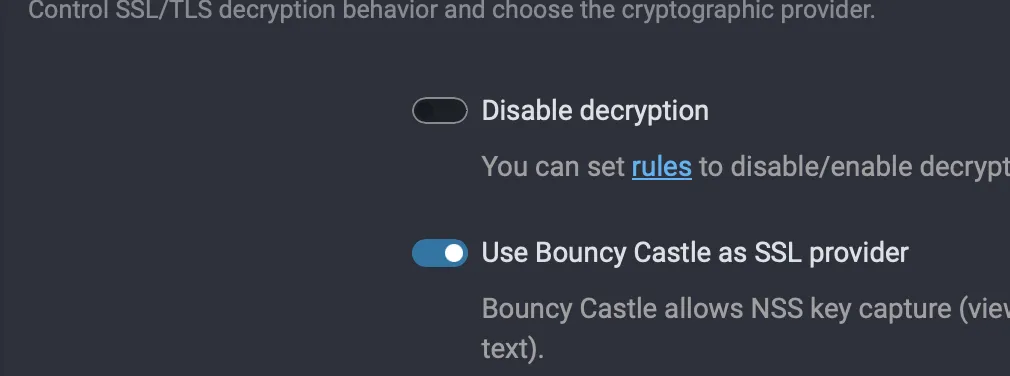
- Disable decryption: turn TLS decryption off globally (Fluxzy then tunnels HTTPS without reading it). Leave this off to decrypt. You can also enable or disable decryption per host with rules.
- Use Bouncy Castle as SSL provider: switches the crypto provider from the OS default to Bouncy Castle, which additionally allows NSS key-log capture so you can decrypt the raw packet capture in Wireshark. See Enable PCAP capture.
Other ways to capture HTTPS
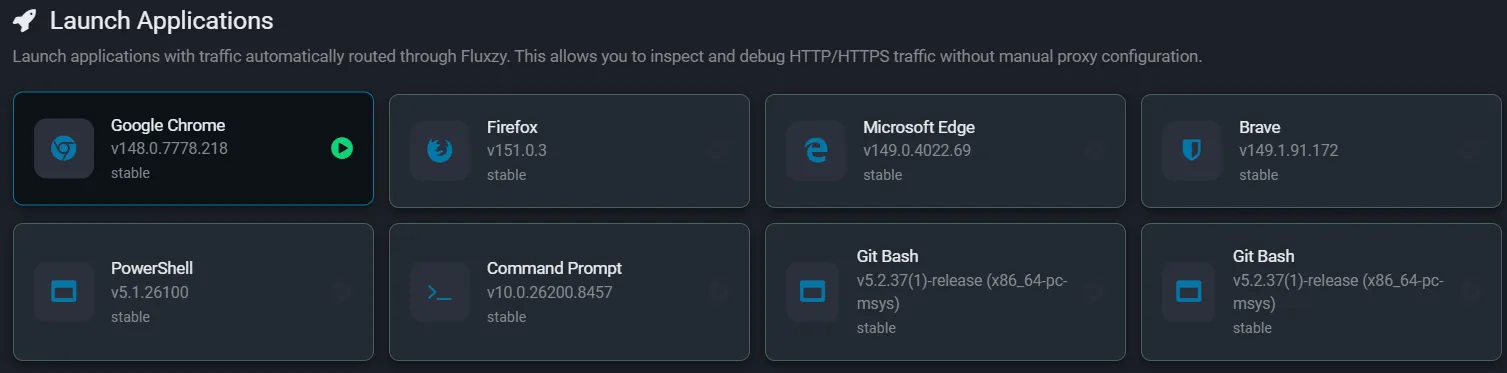
Launch a hooked browser (fastest, certificate auto-trusted)
Open the Applications tab on the right edge of the window, then click one of the detected browsers (Chrome, Firefox, Edge, Brave, …). Fluxzy launches a fresh browser session already pointed at the proxy with the certificate trusted, with no system changes and nothing to clean up afterward. This is the quickest way to capture HTTPS from a single browser. The same panel can also launch hooked terminals (PowerShell, Command Prompt, Git Bash) to capture CLI tools.
Capture from a phone, tablet or emulator
Point your device's Wi-Fi proxy at your computer's IP address and the Fluxzy port, then install the Fluxzy root certificate on the device. For Android emulators, use the host alias 10.0.2.2 and the Fluxzy port. The decryption requirement is the same: the device must trust the Fluxzy root CA. See Capture mobile app traffic for the full walkthrough.
Troubleshooting HTTPS capture
"Your connection is not private" / certificate errors
The Fluxzy root certificate is not trusted (yet) by the client.
- Re-run Step 1 and make sure the install completed and was approved.
- Some apps and browsers (notably Firefox) keep their own certificate store, separate from the system store. Import the Fluxzy CA there too, or use Launch a hooked browser.
- Confirm the green certificate check in the status bar (see Step 1).
Traffic appears but is not decrypted ("no decryption")
- Check Settings → Certificates → SSL Settings and make sure Disable decryption is off.
- Make sure no rule is disabling decryption for that host.
A specific app or site will not decrypt (certificate pinning)
Some apps use certificate pinning and reject any certificate but their own, so they will not trust Fluxzy's, by design. These connections cannot be decrypted without bypassing the pinning in the app itself. Other traffic continues to decrypt normally.
An app produces no traffic at all in the list
The app probably ignores the system proxy. Switch to the transparent tunnel, which captures every app's TCP traffic regardless of its proxy settings.
Frequently asked questions
System proxy or transparent tunnel: which should I use?
Start with the system proxy: it needs no elevation and covers browsers and most HTTP clients. Use the transparent tunnel when an app ignores the system proxy and produces nothing in the exchange list, or when you want to capture everything on the machine at once.
Is it safe to install Fluxzy's root certificate?
Trusting a root CA is powerful: whoever holds its private key can present trusted certificates for any site. Fluxzy generates the CA locally on your machine and keeps the private key on it. Only install root certificates you control, and remove the certificate when you no longer need to capture (see below).
How do I stop capturing or remove the certificate?
Click capture again to stop and restore your previous proxy (or route). To remove the CA, delete the Fluxzy root certificate from your system trust store (on macOS, use Keychain Access and find Fluxzy Root CA), or manage it from Settings → Certificates → Root CA Configuration.
Does this work for HTTP/2 and WebSocket?
Yes. Fluxzy captures and decrypts HTTP/1.1, HTTP/2 and WebSocket traffic over TLS.
Why do some apps still fail even with the certificate installed?
Most likely certificate pinning (the app only trusts a hard-coded certificate) or a separate trust store (for example Firefox). See the troubleshooting section above.
Next steps
- Filter and search the exchange list to focus on a single host or process.
- Use rules to modify requests and responses on the fly, or to disable decryption per host.
- Export the cURL command for any request, or open the raw packet capture in Wireshark with PCAP capture.